Initial setup
After installing Userli, creating the database schema and configuring the webserver and the background services, finish the setup in the browser.
Setup wizard
Open Userli in your browser. As long as no domain exists, you are redirected to
the setup wizard at /init, which guides you through three steps:
-
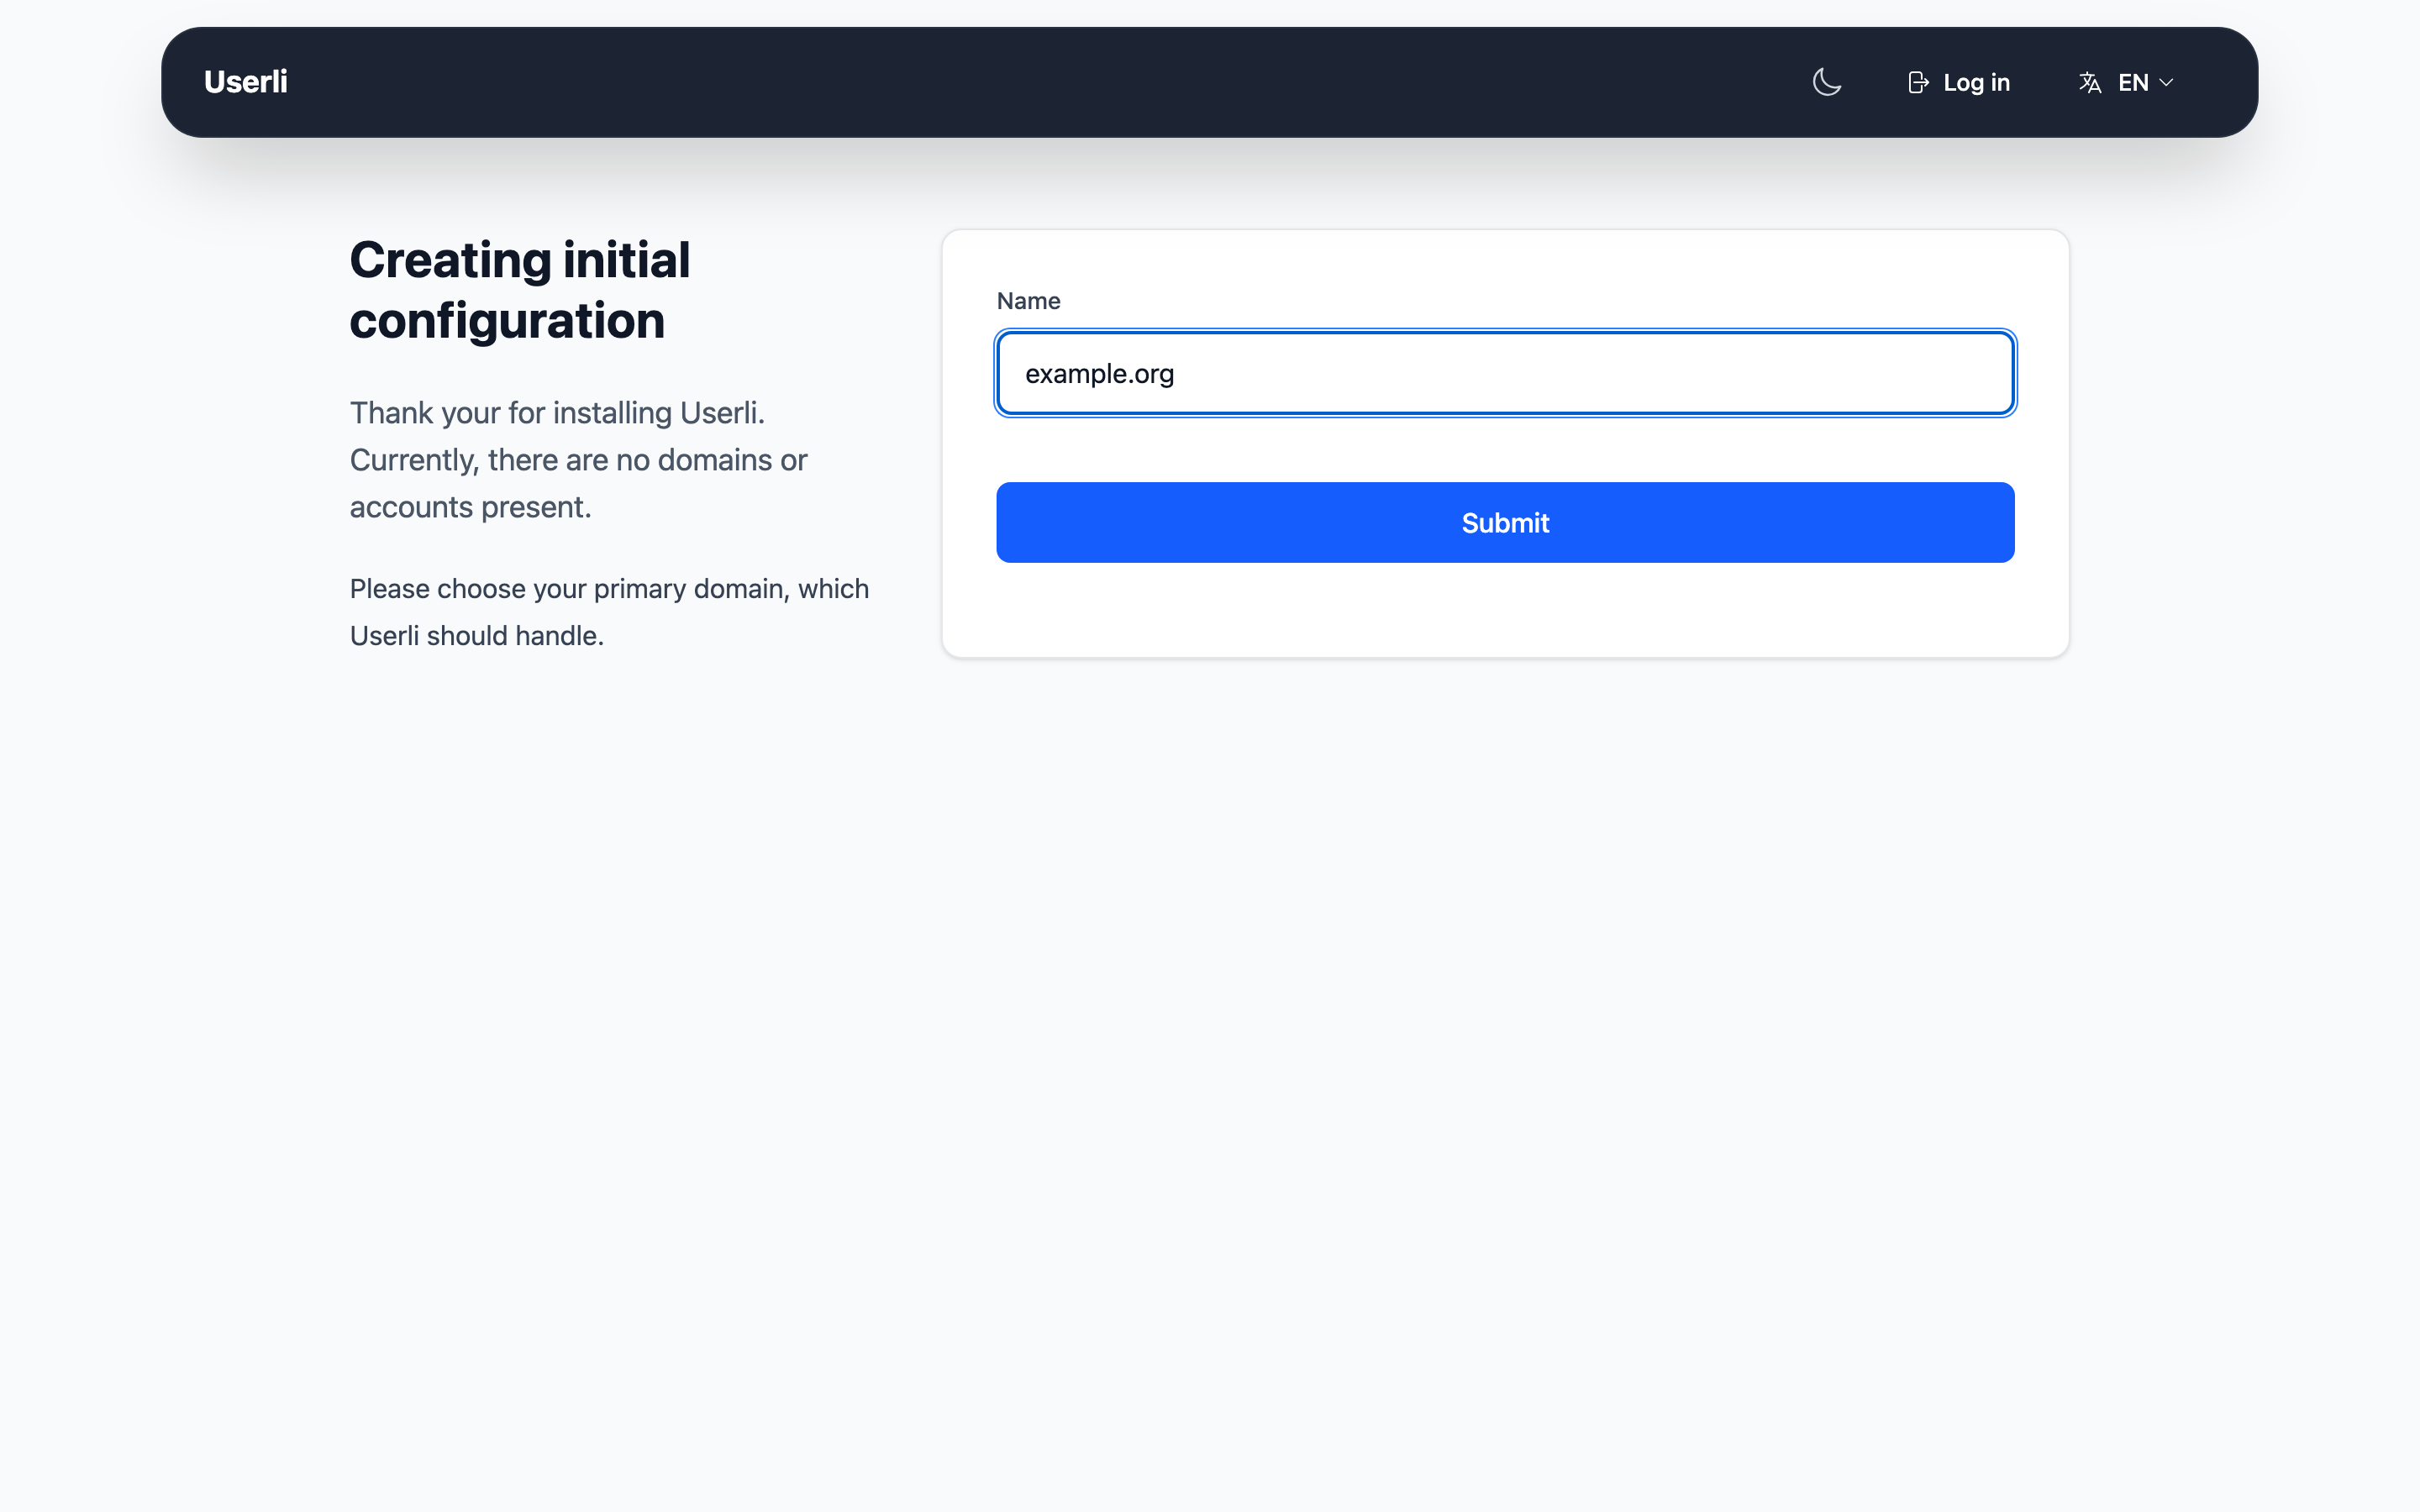
Create the first mail domain. It becomes the default domain.
-
Set the password of the first admin account
postmaster@<domain>.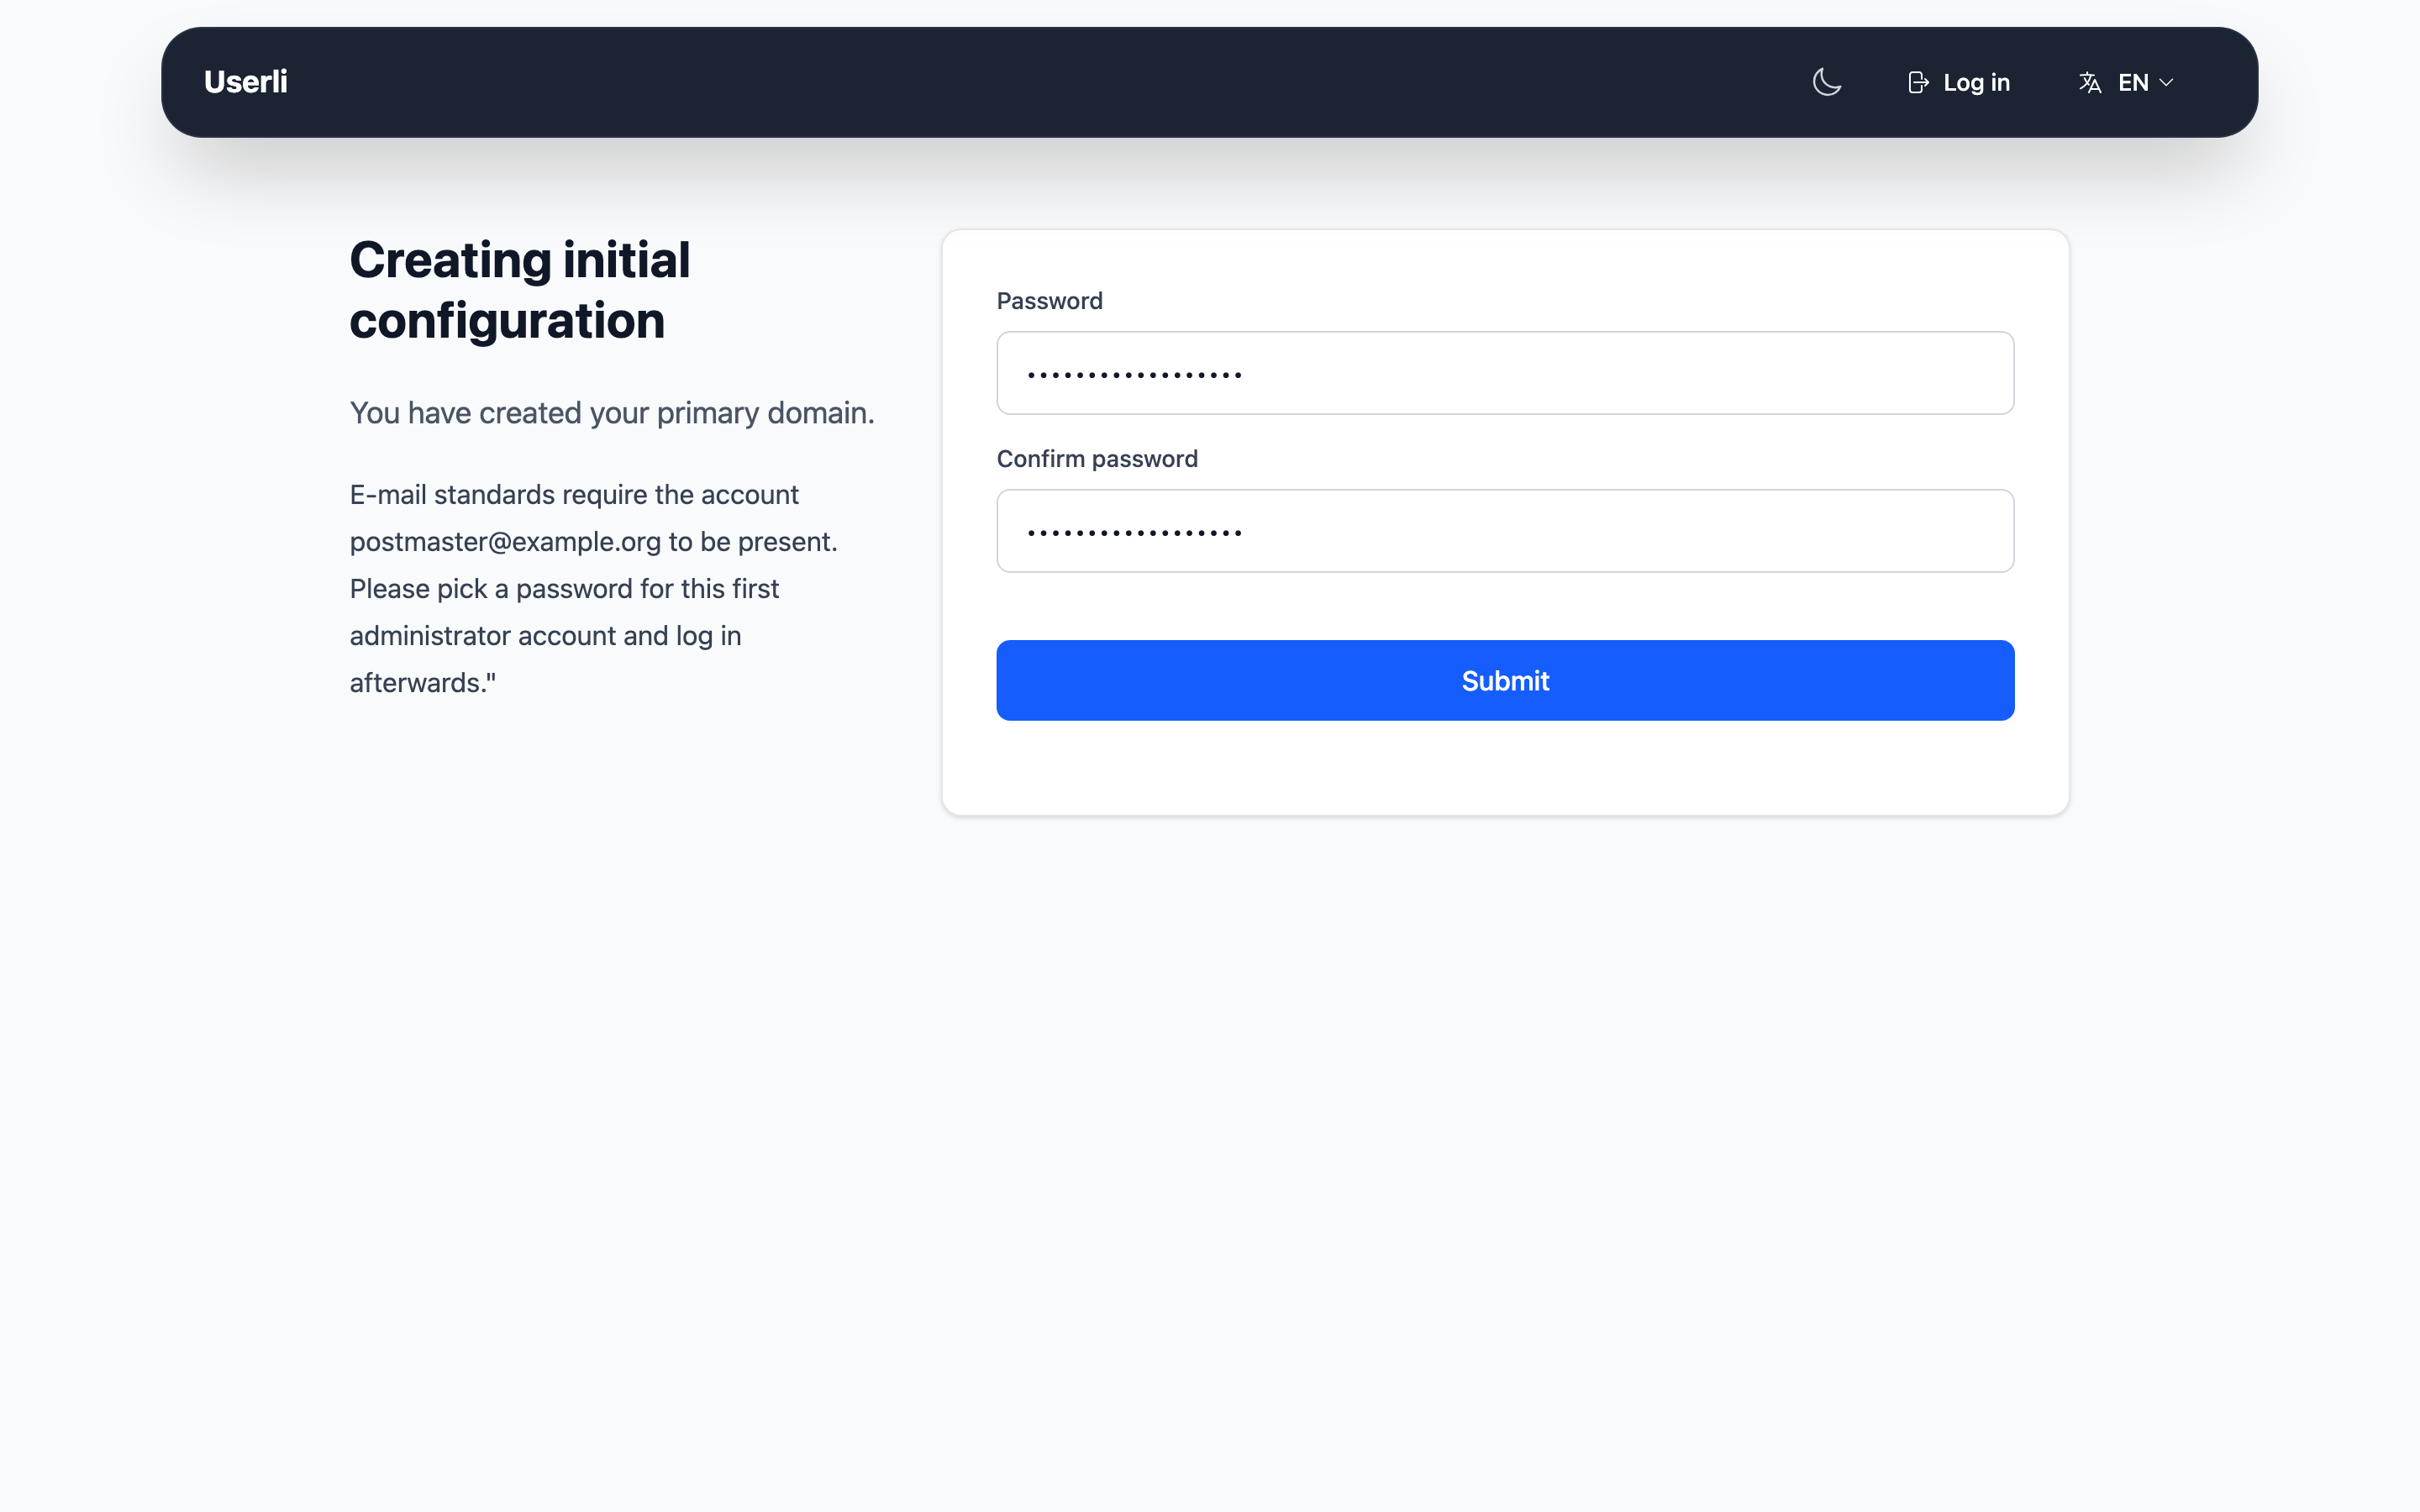
-
Configure the basic settings. The form is prefilled based on the domain, for example
https://users.<domain>as App URL andnoreply@<domain>as sender address. Check at least:- App name and App URL
- Project name and Project URL
- Sender address and Notification address
- Webmail URL, if you offer webmail
- Postmaster address and Abuse address
Afterwards, sign in with the admin account. All settings can be changed later in Admin → Settings.
You can also set the admin password on the command line:
bin/console app:admin:password
Import reserved names
Prevent users from registering addresses like admin or abuse: import the
curated list
contrib/reserved_names.txt
in Admin → Reserved Names → Import. See
Reserved names.
Enable invitations
New users can only register with invite codes. Enable invitations for your domain in Admin → Domains → Edit and create the first invite codes. See Invite codes.
Connect the mail server
- Dovecot – authentication and mailbox encryption
- Postfix – domains, mailboxes, aliases, SMTP authentication
Removing mailboxes of deleted users
Userli has no access to the mailboxes on the mail server (usually owned by the
system user vmail) and therefore does not delete them. To remove the mailbox
of a deleted account, react to the user.deleted
webhook on the mail server. The
mailbox janitor does this for you and also
purges mailboxes of reset accounts.
Checklist
- Background services (worker and scheduler) are running
- Settings reviewed
- Reserved names imported
- Dovecot and Postfix connected and tested
- Backups configured
- Monitoring configured